はじめに
Gitのソースコードをインターネット上で共有したいけれど、セキュリティもろもろの関係からインターネット上に置くのがためらわれる場合など、GitHubライクなweb管理機能のあるGitlabを利用することができます。他にもGitHubをクローンしたようなものもありますが、これが一番メジャーそうだったので、今回はCentos6にGitlab 6.4.3をインストールする方法をご紹介します。
追記
多くのアクセスありがとうございます。CentOSに加え、Debian系OSでのGitLabの導入方法も別記事にて追加しましたので、よろしければご参照ください。
debian/ubuntu/LMDE に GitLab 6.6.5をインストールし、nginxのサブフォルダで公開する
追記2(CentOS7)
CentOS7 で GitLabを導入する方法を公開しました。CentOS7でGitLabをとお考えの方は、こちらへどうぞ。
仮定
ご自身のドメインを myhost.jp と仮定し、GitLabを gitlab.myhost.jp (バーチャルホスト)で運用するものとします。
Rubyをインストールする
Gitlab自体がRailsプロジェクトなので、Rubyの環境が必要になります。インストールに関しては、あちこちに優秀な記事がありますので、そちらをご参照ください。
必要なRPMパッケージをFedoraプロジェクトより取得
[bash]
# wget http://dl.fedoraproject.org/pub/epel/6/x86_64/libunwind-1.1-2.el6.x86_64.rpm
# wget http://dl.fedoraproject.org/pub/epel/6/x86_64/libunwind-devel-1.1-2.el6.x86_64.rpm
# wget http://dl.fedoraproject.org/pub/epel/6/x86_64/gperftools-libs-2.0-11.el6.3.x86_64.rpm
# wget http://dl.fedoraproject.org/pub/epel/6/x86_64/redis-2.4.10-1.el6.x86_64.rpm
[/bash]
RPMインストール
[bash]
# rpm -ivh libunwind-1.1-2.el6.x86_64.rpm
# rpm -ivh libunwind-devel-1.1-2.el6.x86_64.rpm
# rpm -ivh gperftools-libs-2.0-11.el6.3.x86_64.rpm
# rpm -ivh redis-2.4.10-1.el6.x86_64.rpm
[/bash]
足りないライブラリをインストール
[bash]
# yum install icu4c libicu-devel libxml2 libxml2-devel libxslt libxslt-devel
[/bash]
REDIS起動、起動設定
[bash]
# service redis start
# chkconfig –level 35 redis on
[/bash]
gitlab インストールのために git ユーザー追加
[bash]
# useradd git
# su – git
[/bash]
Gitlab-shellのインストール
[bash]
$ git config –global user.name “GitLab”
$ git config –global user.email “gitlab@localhost”
$ git clone https://github.com/gitlabhq/gitlab-shell.git
$ cd gitlab-shell/
$ git checkout -b 1.8.0 v1.8.0
$ cp config.yml.example config.yml
$ nano config.yml
[/bash]
以下のURL指定の部分を調整(gitlabをホストするURLを記述)
[diff]
– gitlab_url: “http://localhost/” ←コメントアウト
+ gitlab_url: “http://gitlab.myhost.jp/”
[/diff]
インストール実行
[bash]
$ ./bin/install
[/bash]
gitlabインストール
[bash]
$ cd ..
$ git clone https://github.com/gitlabhq/gitlabhq.git gitlab
$ cd gitlab
$ git checkout -b 6.4.3 v6.4.3
$ cp config/gitlab.yml.example config/gitlab.yml
$ nano config/gitlab.yml
[/bash]
ホスト名設定(gitlabをホストするURLを記述)
[diff]
– host: localhost
+ host: gitlab.myhost.jp
[/diff]
Productionモードでのユーザ名、パスワードを設定
[bash]
$ cp config/database.yml.mysql config/database.yml
$ nano config/database.yml
[/bash]
[diff]
#
# PRODUCTION
#
production:
adapter: mysql2
encoding: utf8
reconnect: false
database: gitlabhq_production
pool: 10
– username: git
– password: “secure password”
+ username: root
+ password: “xxxxxxxxx”
# host: localhost
# socket: /tmp/mysql.sock
[/diff]
バンドルインストール(かなり長い時間を要します)
[bash]
$ bundle install –deployment –without development test postgres
[/bash]
不足フォルダ作成
[bash]
$ mkdir /home/git/gitlab/tmp/pids
$ mkdir /home/git/gitlab/public/uploads
[/bash]
データベース作成
[bash]
$ bundle exec rake db:create RAILS_ENV=production
$ bundle exec rake gitlab:setup RAILS_ENV=production
$ exit
[/bash]
起動スクリプト作成、設定
[bash]
# wget https://github.com/gitlabhq/gitlab-recipes/raw/master/init/sysvinit/centos/gitlab-only-sidekiq
# cp gitlab-only-sidekiq /etc/init.d/gitlab
# chmod 744 /etc/init.d/gitlab
# chkconfig –add gitlab
# chkconfig –level 35 gitlab on
# service gitlab start
[/bash]
バーチャルホストの設定
[bash]
# nano /etc/httpd/conf.d/virtual.conf
[/bash]
設定内容
[bash]
NameVirtualHost *:80
# GITLAB
DocumentRoot /var/www/gitlab/public
ServerName gitlab.myhost.jp
AllowOverride all
Options +FollowSymLinks -MultiViews
ErrorLog logs/gitlab-error_log
CustomLog logs/gitlab-access_log common
RailsEnv production
PassengerEnabled on
[/bash]
gitlabプロジェクトフォルダへのシンボリックリンク作成
[bash]
# ln -s /home/git/gitlab /var/www/gitlab
# chmod +x /home/git
# service httpd restart
[/bash]
動作確認
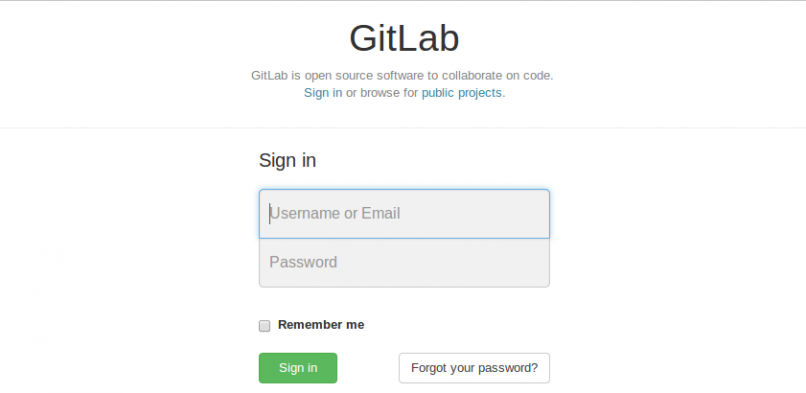
ブラウザーでGitlabのURLにアクセスしてみてください。かなり長時間待たされると思いますが、気長に待ちましょう。
http://gitlab.myhost.jp
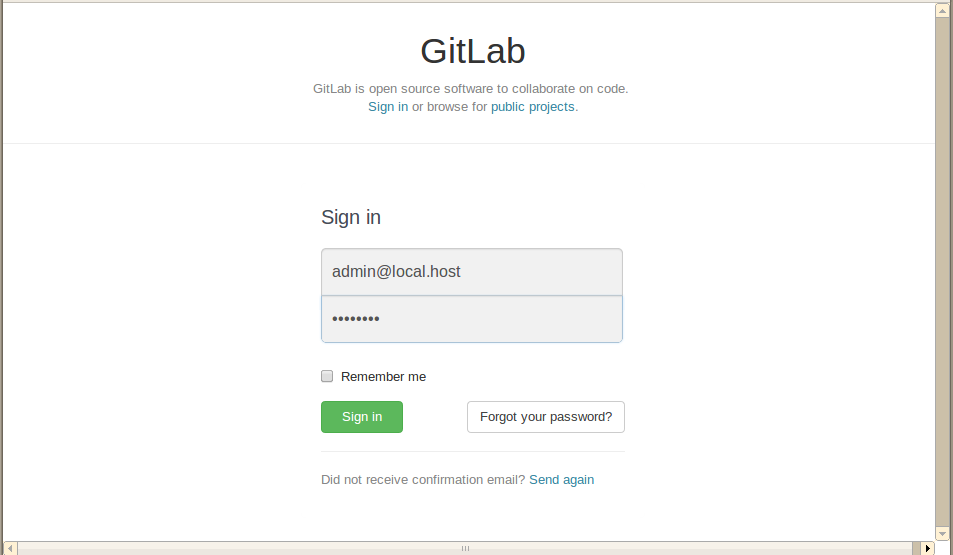
データベース作成時にメモっておいたIDとパスワードでログインしてみる
login………admin@local.host
password……5iveL!fe
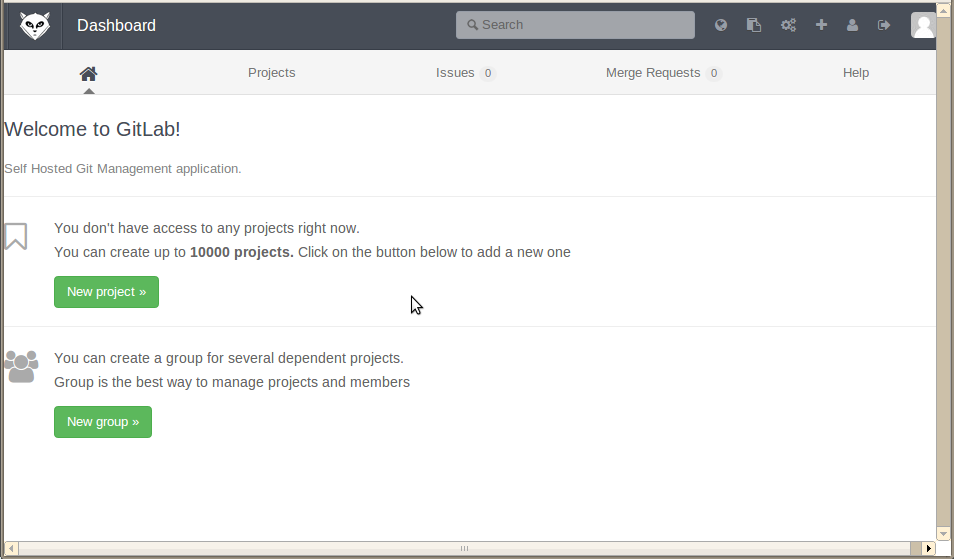
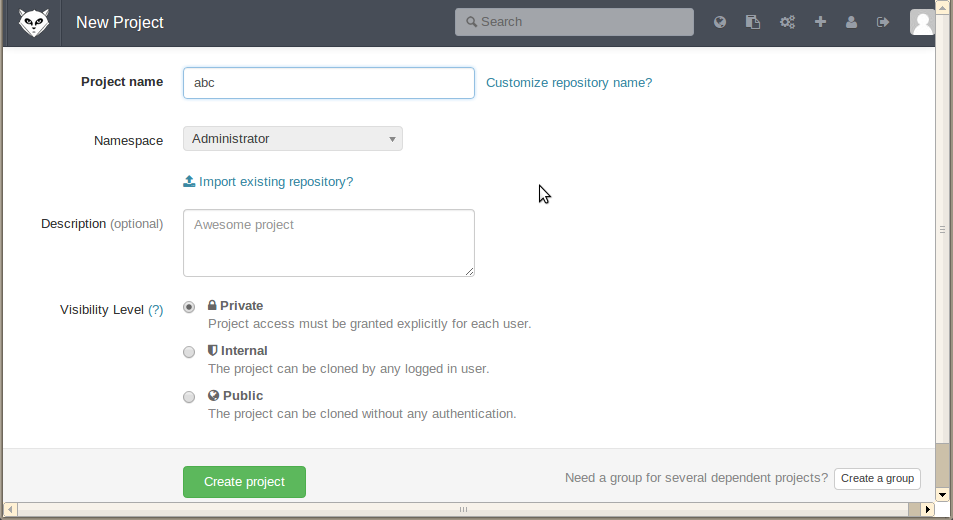
プロジェクト(リポジトリー)の作成
ここからはGUIなので、操作は簡単です。
新規プロジェクトを作成してみます。
実際にリポジトリーが作成されているか確認
[bash]
# ls /home/git/repositories/root/
abc.git abc.wiki.git
[/bash]
もし正しく作成されていない場合は、何らかの不具合が考えられますので、Gitlabを再起動しましょう。(再起動後、再度ブラウザーからプロジェクト作成を行い、確認してみてください)
[bash]
# service gitlab restart
[/bash]
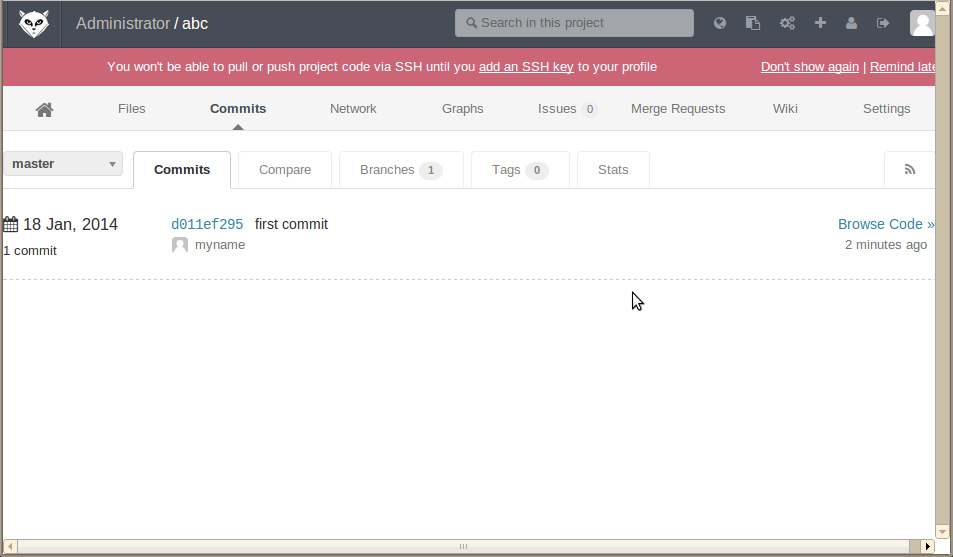
クライアントからファイルを追加しリポジトリーにPushしてみる
適当なフォルダを作成し、そこでGitリポジトリを作成。新規にREADMEというファイルを作成し、GitlabにPushしてみます。
[bash]
$ mkdir abc
$ cd abc
$ git init
Initialized empty Git repository in /home/hiro/workspace/abc/.git/
$ git config user.name “myname”
$ git config user.email “myname@myhost.jp”
$ git remote add origin http://root@gitlab.myhost.jp/root/abc.git
$ echo “HELLO GITLAB” >>README
$ git add README
$ git commit -m “first commit”
$ git push -u origin master
[/bash]
ブラウザーでコミット内容確認

お疲れ様でした。
めでたしめでたし。。


Leave a comment