はじめに
Gitのソースコードをインターネット上で共有したいけれど、セキュリティもろもろの関係からインターネット上に置くのがためらわれる場合など、GitHubライクなweb管理機能のあるGitlabを利用することができます。他にもGitHubをクローンしたようなものもありますが、これが一番メジャーそうだったので、今回はCentos7にGitlab 7.3.0をインストールする方法をご紹介します。
仮定
ご自身のドメインを myhost.jp と仮定し、GitLabをドメインのサブフォルダ myhost.jp/gitlab で運用するものとします。
git ,curl インストール
[bash]
$ sudo yum install curl git
[/bash]
git ユーザー追加
これがベストな方法か、少々疑問ですが、作業はすべて新規に作成するgit ユーザーで行ってください。
gitユーザーのパスワードはお任せします。
[bash]
$ sudo useradd git -md /home/git -s /bin/bash
$ sudo passwd git
$ sudo nano /etc/suders
[/bash]
gitユーザーをsudo可能なユーザーに加えます。
[diff]
# User privilege specification
root ALL=(ALL:ALL) ALL
+ git ALL=(ALL:ALL) ALL
[/diff]
remi,epelリポジトリー追加
Redisなどのインストールに remiとepelのリポジトリー情報が必要なので、rpmダウンロード&インストール
[bash]
$ su – git
$ wget http://rpms.famillecollet.com/enterprise/remi-release-7.rpm
$ wget http://dl.fedoraproject.org/pub/epel/7/x86_64/epel-release-7-0.2.noarch.rpm
$ sudo rpm -ivh remi-release-7.rpm epel-release-7-0.2.noarch.rpm
[/bash]
Mysql(mariadb)関連モジュールインストール
[bash]
$ sudo yum install mariadb-devel mariadb mariadb-libs mariadb-server
[/bash]
Mysql rootパスワード設定
[bash]
$ mysqladmin -u root password ‘mynewpassword’
[/bash]
Redis,関連モジュールインストール
[bash]
$ sudo yum install libunwind libunwind-devel gperftools-libs redis
$ sudo yum install icu4c libicu-devel libxml2 libxml2-devel libxslt libxslt-devel cmake
[/bash]
mysql,redis起動、自動起動設定
[bash]
$ sudo systemctl start mariadb
$ sudo systemctl enable mariadb
$ sudo systemctl start redis
$ sudo systemctl enable redis
[/bash]
Rubyインストール
[bash]
$ sudo yum install ruby
[/bash]
mysql用のライブラリーのコンパイルに必要なものインストール
[bash]
$ sudo yum install gcc mysql-devel ruby-devel rubygems patch gcc-c++
[/bash]
gemrc作成
これはRubyのお作法みたいなものなので気にせずにこの通りやってみてください。
[bash]
$ nano ~/.gemrc
[/bash]
gem インストール時にドキュメントインストールなどを省略します。
[bash]
install: –no-document
update: –no-document
[/bash]
Railsインストール、ついでにMysql2のgemもインストール
[bash]
$ gem install rails mysql2
[/bash]
gitlab-shellインストール
[bash]
$ git config –global user.name “GitLab”
$ git config –global user.email “gitlab@localhost”
$ git clone https://github.com/gitlabhq/gitlab-shell.git
$ cd gitlab-shell/
$ git checkout -b 1.9.8 v1.9.8
$ cp config.yml.example config.yml
$ nano config.yml
[/bash]
以下のURL指定の部分を調整(gitlabをホストするURLを記述)
[diff]
– gitlab_url: “http://localhost/” ←コメントアウト
+ gitlab_url: “http://www.myhost.jp/gitlab/”
[/diff]
インストール実行
[bash]
$ ./bin/install
[/bash]
gitlabインストール
githubからソースをクローンします。(ダウンロードかなり時間食います。合計70mbぐらい)
[bash]
$ cd /home/git
$ git clone https://github.com/gitlabhq/gitlabhq.git gitlab
$ cd gitlab
$ git checkout -b 7.3.0 v7.3.0
$ cp config/gitlab.yml.example config/gitlab.yml
$ nano config/gitlab.yml
[/bash]
ホスト名設定(gitlabをホストするURLを記述)、相対ルートの設定
[diff]
– host: localhost
+ host: www.myhost.jp
https: false
# Uncomment and customize the last line to run in a non-root path
# WARNING: We recommend creating a FQDN to host GitLab in a root path instead of this.
# Note that four settings need to be changed for this to work.
# 1) In your application.rb file: config.relative_url_root = “/gitlab”
# 2) In your gitlab.yml file: relative_url_root: /gitlab
# 3) In your unicorn.rb: ENV[‘RAILS_RELATIVE_URL_ROOT’] = “/gitlab”
# 4) In ../gitlab-shell/config.yml: gitlab_url: “http://127.0.0.1/gitlab”
# To update the path, run: sudo -u git -H bundle exec rake assets:precompile RAILS_ENV=production
#
– # relative_url_root: /gitlab
+ relative_url_root: /gitlab
[/diff]
相対パスの設定
[bash]
$ nano config/application.rb
[/bash]
[diff]
– # config.relative_url_root = “/gitlab”
+ config.relative_url_root = “/gitlab”
〜省略〜
end
end
end
end
+ ENV[‘RAILS_RELATIVE_URL_ROOT’] = “/gitlab”
[/diff]
Mysqlのユーザ名、パスワードを設定(Productionモード)
[bash]
$ cp config/database.yml.mysql config/database.yml
$ nano config/database.yml
[/bash]
[diff]
#
# PRODUCTION
#
production:
adapter: mysql2
encoding: utf8
reconnect: false
database: gitlabhq_production
pool: 10
– username: git
– password: “secure password”
+ username: root
+ password: “xxxxxxxxx”
# host: localhost
# socket: /tmp/mysql.sock
[/diff]
バンドルインストール(かなり長い時間を要します)
[bash]
$ bundle install –deployment –without development test postgres
[/bash]
データベース作成
英語で、前のデータが失われるよ。新規のデータをseedから作るけどいい?みたいなメッセージが出ますが、 yes と入力して続行してください。
[bash]
$ rake db:create RAILS_ENV=production
$ rake gitlab:setup RAILS_ENV=production
[/bash]
エラーが出てうまく行かない場合、以下のgemを入れてみてください。
[bash]
$ gem install rb-inotify
[/bash]
最後に出力される、ログイン名とパスワードをメモっておきます。
login………root
password……5iveL!fe
passengerのgemインストール
[bash]
$ sudo gem install passenger
[/bash]
コンパイル前にチェックが走り、curl-config が無いよ的なエラーが表示された場合は、
[bash]
$ sudo yum install curl-devel
[/bash]
他のエラーの場合は、ご自身でお調べください。
エラーが消えるまで以下を繰り返してみる。
nginxインストール(passenger連携用にコンパイル)
以下のコマンドを打つといろいろ出てきますが、適当に選択してインストールしてください。
/opt/nginx 配下にnginxがインストールされます。
[bash]
$ sudo /usr/local/bin/passenger-install-nginx-module
[/bash]
/opt/nginx フォルダ権限調整
[bash]
$ sudo chown nobody:nobody /opt/nginx -R
$ sudo chmod 775 /opt/nginx -R
[/bash]
ファイアーウォール設定
動作確認の前にファイアーウォールがデフォでかかっているのでhttpを通すように変更する。
まず確認。
[bash]
$ sudo firewall-cmd –list-all
public (default, active)
interfaces: virbr0 wlp2s0
sources:
services: dhcpv6-client ssh
ports:
masquerade: no
forward-ports:
icmp-blocks:
rich rules:
[/bash]
sshとdhcpしか有効じゃないので、httpを追加する。
その前にどんなサービスが定義されていて、今どれが publicで有効かチェックする方法。
[bash]
※定義されているサービス一覧
$ sudo firewall-cmd –get-services
※publicのサービス確認
$ sudo firewall-cmd –list-service –zone=public
[/bash]
nginxなので httpサービスを追加してみる
[bash]
※サービスを追加する
$ sudo firewall-cmd –add-service=http –zone=public
※恒久的にサービスを追加する
$ sudo firewall-cmd –add-service=http –zone=public –permanent
[/bash]
ファイアーウォール再起動
[bash]
$ sudo firewall-cmd –reload
[/bash]
httpが有効になっているか確認
[bash]
$ sudo firewall-cmd –list-all
public (default, active)
interfaces: virbr0 wlp2s0
sources:
services: dhcpv6-client http ssh
ports:
masquerade: no
forward-ports:
icmp-blocks:
rich rules:
[/bash]
nginxの設定確認と、起動
-t オプションで設定ファイルをチェックし、OKならば、一旦起動してみて、ブラウザーで http://localhost として、nginxのトップページが開ければOK。
[bash]
$ sudo /opt/nginx/sbin/nginx -t
nginx: the configuration file /opt/nginx/conf/nginx.conf syntax is ok
nginx: configuration file /opt/nginx/conf/nginx.conf test is successful
[/bash]
nginx起動
[bash]
$ sudo /opt/nginx/sbin/nginx
[/bash]
停止は
[bash]
$ ps aux |grep nginx
[/bash]
として、nginx: master process となるプロセスIDを殺すと止めることができます。
[bash]
$ sudo kill pid
[/bash]
nginx passenger連携設定
passengerの場所は、インストール時に自動的に組み込まれているので、その他の項目の調整。
http://www.myhost.jp/gitlab で公開する。
[bash]
$ sudo nano /opt/nginx/conf/nginx.conf
[/bash]
以下の部分を追記
[diff mark=”2″]
+ user nobody;
+ pid /opt/nginx/logs/nginx.pid;
〜省略〜
server {
listen 80;
server_name localhost;
〜省略〜
–
+ location ~ ^/gitlab {
+ root /home/git/gitlab/public;
+ #passenger_base_uri /gitlab;
+ passenger_app_root /home/git/gitlab;
+ #passenger_document_root /home/git/gitlab/public;
+ passenger_enabled on;
+ rails_env production;
+ access_log /opt/nginx/logs/gitlab.access.log;
+ error_log /opt/nginx/logs/gitlab.error.log;
+ }
[/diff]
nginx用 サービス起動ファイル作成
$ sudo nano /usr/lib/systemd/system/nginx.service
[bash]
[Unit]
Description=nginx – high performance web server
Documentation=http://nginx.org/en/docs/
After=network.target remote-fs.target nss-lookup.target
[Service]
Type=forking
PIDFile=/opt/nginx/logs/nginx.pid
ExecStartPre=/opt/nginx/sbin/nginx -t -c /opt/nginx/conf/nginx.conf
ExecStart=/opt/nginx/sbin/nginx -c /opt/nginx/conf/nginx.conf
ExecReload=/bin/kill -s HUP $MAINPID
ExecStop=/bin/kill -s QUIT $MAINPID
PrivateTmp=true
[Install]
WantedBy=multi-user.target
[/bash]
デーモンリロード、nginx起動
[bash]
$ sudo systemctl daemon-reload
$ sudo systemctl start nginx
$ sudo systemctl enable nginx
[/bash]
nginx動作確認
サーバーのIPにブラウザーで接続で nginxのwelcompageが表示されれば、nginxの動作はOK
http://192.168.x.x
nginx(nobody)ユーザーをgitグループに加える
nginxが /home/git/repositories フォルダへアクセスする必要があるので権限を調整します。
[bash]
$ sudo usermod -aG git nobody
[/bash]
グループのアクセス権がないと /home/git 配下のファイルにアクセスできないようなので
gitのhome ディレクトリの権限調整(700 ->> 710)
[bash]
$ sudo chmod 710 /home/git
[/bash]
SELinuxを無効化
[bash]
$ sudo nano /etc/sysconfig/selinux
[/bash]
[bash]
-SELINUX=enforcing
+SELINUX=disabled
[/bash]
一旦リブートしてください
[bash]
$ sudo reboot
[/bash]
アセットプリコンパイル
[bash]
$ su – git
$ cd /home/git/gitlab
$ bundle exec rake assets:precompile RAILS_ENV=production
[/bash]
sidekiqデーモン起動の設定
[bash]
$ sudo gem install bundle
$ wget https://github.com/gitlabhq/gitlab-recipes/raw/master/init/systemd/gitlab-sidekiq.service
[/bash]
起動ファイルを微調整します。
[bash]
$ nano gitlab-sidekiq.service
[/bash]
/usr/bin/bundle となっているところを /usr/local/binに変更
[diff]
– ExecStart=/usr/bin/bundle exec “sidekiq -q post_receive,mailer,system_hook,project_web_hook,gitlab_shell,common,default -e production -P tmp/pids/sidekiq.pid -d -L log/sidekiq.log >> log/sidekiq.log 2>&1”
– ExecStop=/usr/bin/bundle exec “sidekiqctl stop /home/git/gitlab/tmp/pids/sidekiq.pid >> /home/git/gitlab/log/sidekiq.log 2>&1”
+ ExecStart=/usr/local/bin/bundle exec “sidekiq -q post_receive,mailer,system_hook,project_web_hook,gitlab_shell,common,default -e production -P tmp/pids/sidekiq.pid -d -L log/sidekiq.log >> log/sidekiq.log 2>&1”
+ ExecStop=/usr/local/bin/bundle exec “sidekiqctl stop /home/git/gitlab/tmp/pids/sidekiq.pid >> /home/git/gitlab/log/sidekiq.log 2>&1”
[/diff]
起動ファイルのコピー&権限変更
[bash]
$ sudo mv gitlab-sidekiq.service /usr/lib/systemd/system/
$ sudo chmod 644 /usr/lib/systemd/system/gitlab-sidekiq.service
[/bash]
sidekiq(Gitlab)サービスの起動、自動起動設定
[bash]
$ sudo systemctl daemon-reload
$ sudo systemctl start gitlab-sidekiq.service
$ sudo systemctl enable gitlab-sidekiq.service
[/bash]
動作確認
ブラウザーでGitlabのURLにアクセスしてみてください。かなり長時間待たされると思いますが、気長に待ちましょう。
http://myhost.jp/gitlab
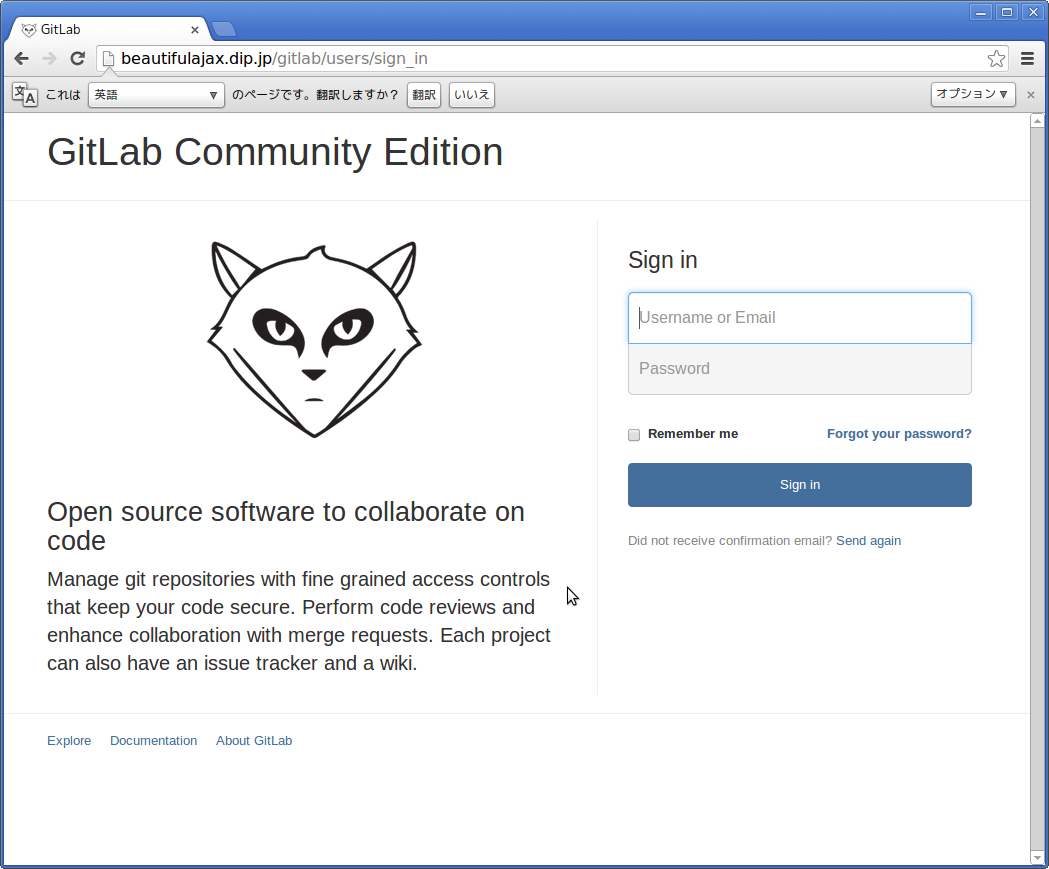
データベース作成時にメモっておいたIDとパスワードでログインしてみる
login………root
password……5iveL!fe
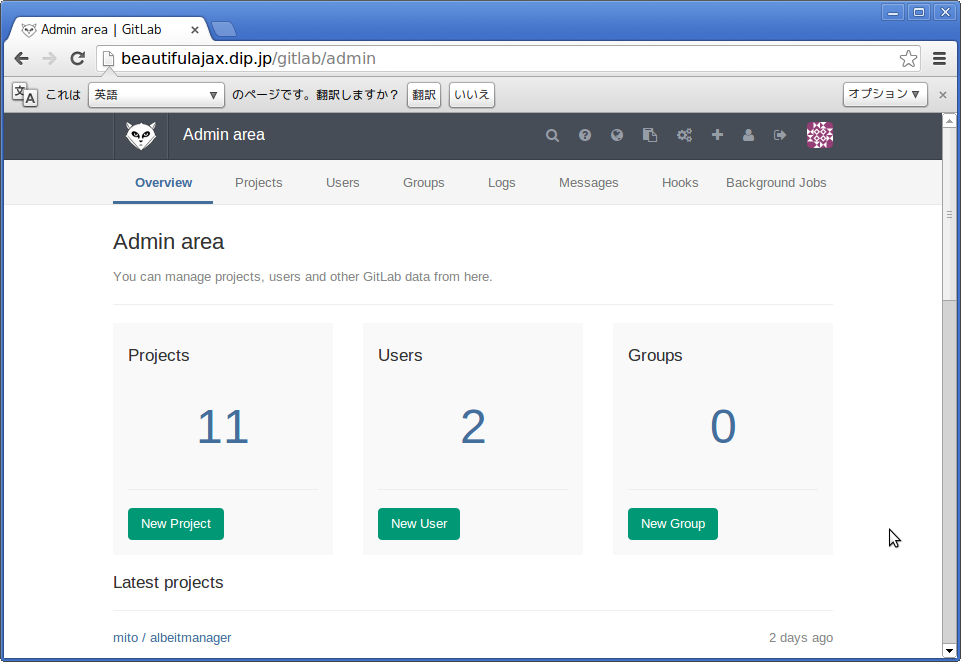
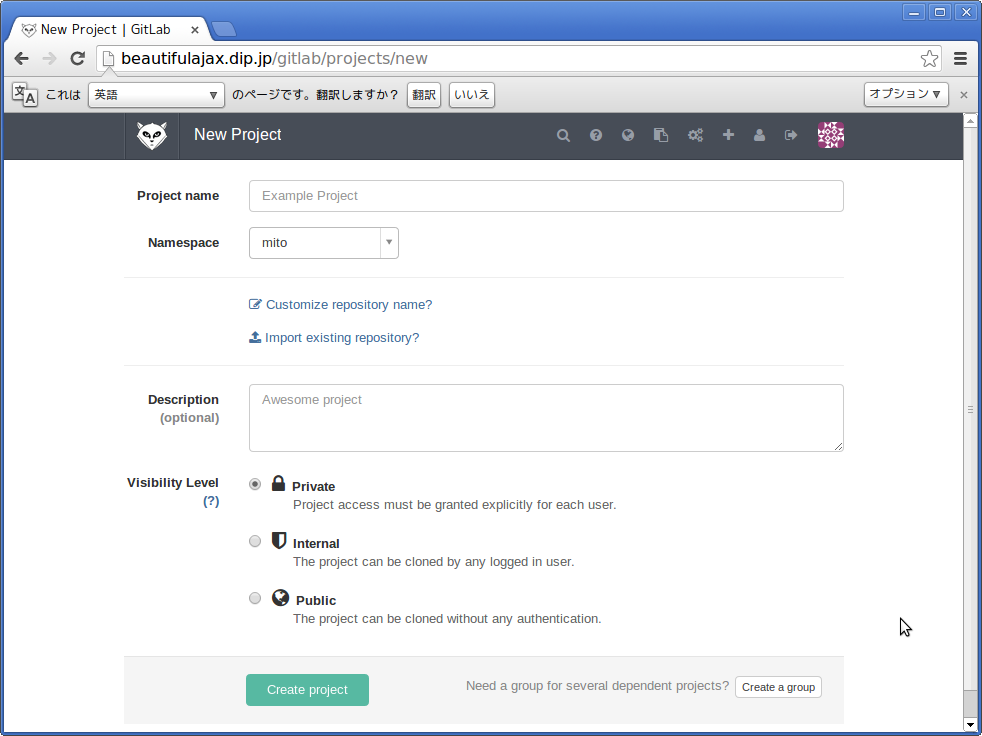
プロジェクト(リポジトリー)の作成
ここからはGUIなので、操作は簡単です。
新規プロジェクトを作成してみます。
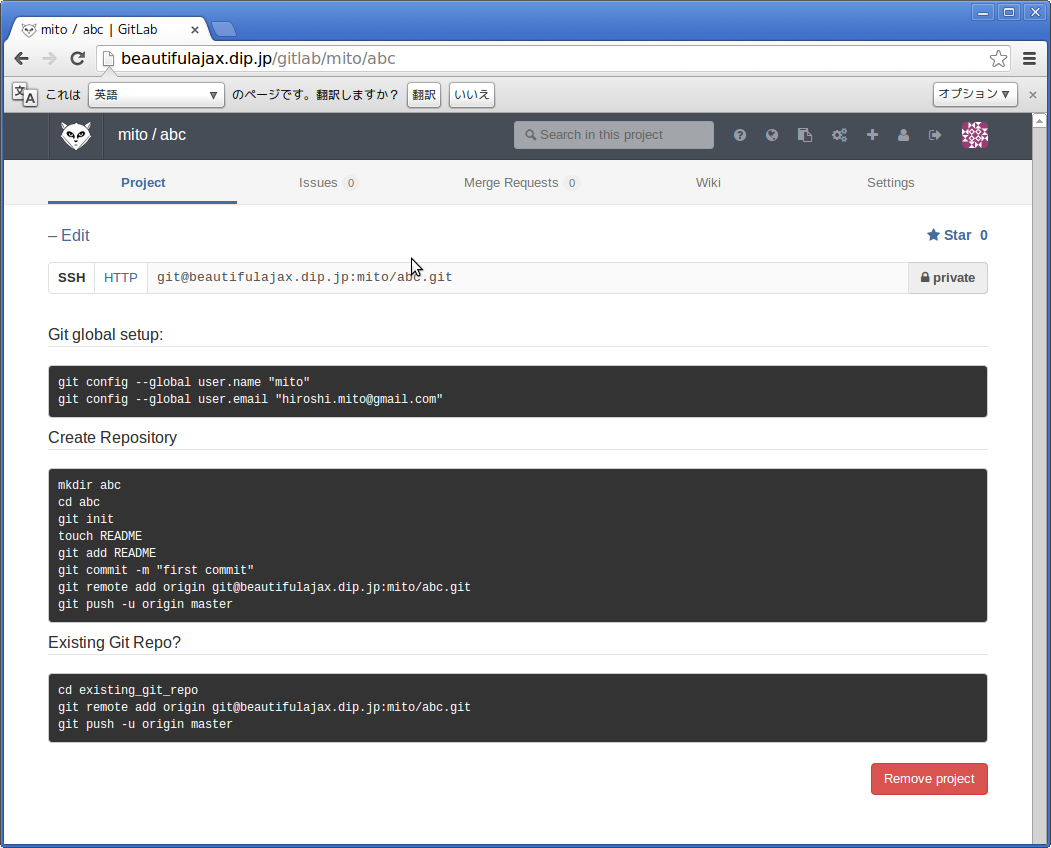
実際にリポジトリーが作成されているか確認
[bash]
$ ls /home/git/repositories/root/
abc.git abc.wiki.git
[/bash]
もし正しく作成されていない場合は、何らかの不具合が考えられますので、Gitlabを再起動しましょう。(再起動後、再度ブラウザーからプロジェクト作成を行い、確認してみてください)
[bash]
$ sudo systemctl restart gitlab-sidekiq.service
[/bash]
gitのベアリポジトリ再作成
GUIから作ったgitのbareリポジトリーがなにかおかしいようです。
リポジトリフォルダにある全ファイルを一旦消去して、コマンドラインでbareリポジトリーを再構築します。
[bash]
cd /home/git/repositories/xxx/xyz.git
rm * -fr
git init –bare
[/bash]
クライアントからファイルを追加しリポジトリーにPushしてみる
適当なフォルダを作成し、そこでGitリポジトリを作成。新規にREADMEというファイルを作成し、GitlabにPushしてみます。
(originの URLは ssh接続なので、host名:repositories/xxxx/abc.git)
repositoriesはいらないはずなんですが、これを付けないとうまく動作しません。
詳しいところは良く分かっていませんが、これで我慢してください。
[bash]
$ mkdir abc
$ cd abc
$ git init
Initialized empty Git repository in /home/hiro/workspace/abc/.git/
$ git config user.name “myname”
$ git config user.email “myname@myhost.jp”
$ git remote add origin git@myhost.jp:repositories/root/abc.git
$ echo “helllo!” >>README
$ git add README
$ git commit -m “first commit”
$ git push -u origin master
[/bash]
ブラウザーでコミット内容確認

以上です。お疲れさまでした。


Leave a comment